Local Setup
For development, we strongly recommend you to not use the same bucket as for production. Here is the instruction, how you can set up your local renuo-upload-signing-Server
Install renuo-upload signing
Clone git repository and run bin/setup:
https://github.com/renuo/renuo-upload-signing#installation
If you already cloned the project, you can just pull the newest version and migrate the database.
Set Up a Amazon S3 bucket
Log in to amazon
Navigate to S3 by clicking on the S3 icon:
Create new bucket by clicking on blue button on the top with text "create bucket":

Give it a meaningful name. We suggest something like
renuo-upload-local-<yourname>-developmentand choose to place where your server should be. We usually use Frankfurt.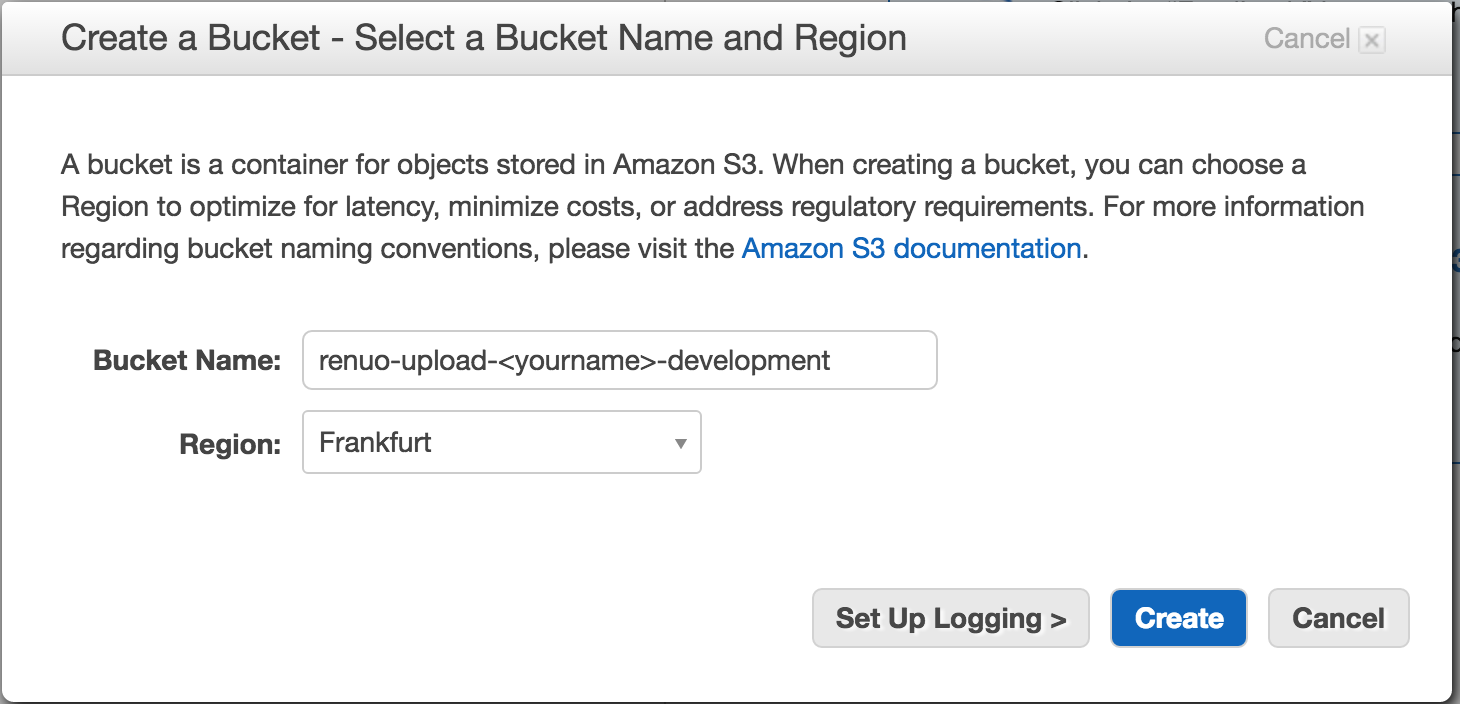
Click on your project and navigate to Properties (right side of navigation).
 Expand the section "Permissions" and click on the button called "Add CORS Configuration".
Insert this:
<?xml version="1.0" encoding="UTF-8"?> <CORSConfiguration xmlns="http://s3.amazonaws.com/doc/2006-03-01/"> <CORSRule> <AllowedOrigin>*</AllowedOrigin> <AllowedMethod>GET</AllowedMethod> <AllowedMethod>POST</AllowedMethod> <MaxAgeSeconds>3000</MaxAgeSeconds> <AllowedHeader>*</AllowedHeader> </CORSRule> </CORSConfiguration>- Now click save, then close and after that the blue save button.
Set UP Amazon IAM
Log in to amazon if you aren't already because you just set up your s3 bucket.
Navigate to IAM by clicking on the "Identity & Access Management" icon:

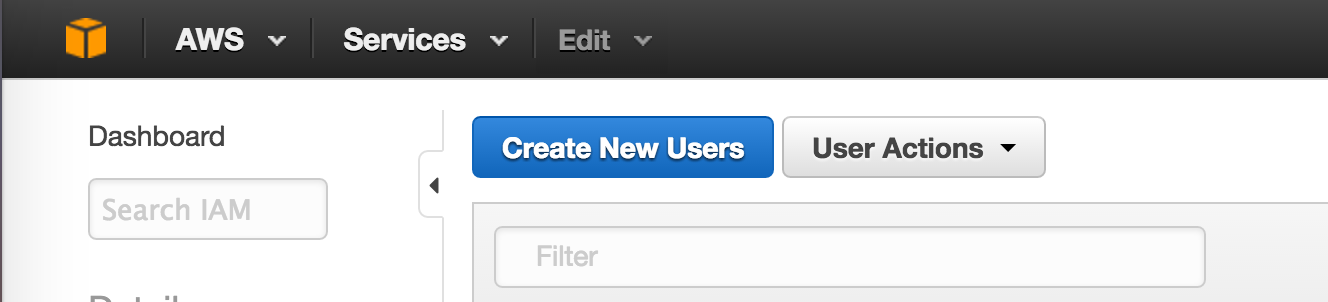
Click on the blue button with a white "create new users"-writing:
Enter your name into the first field.
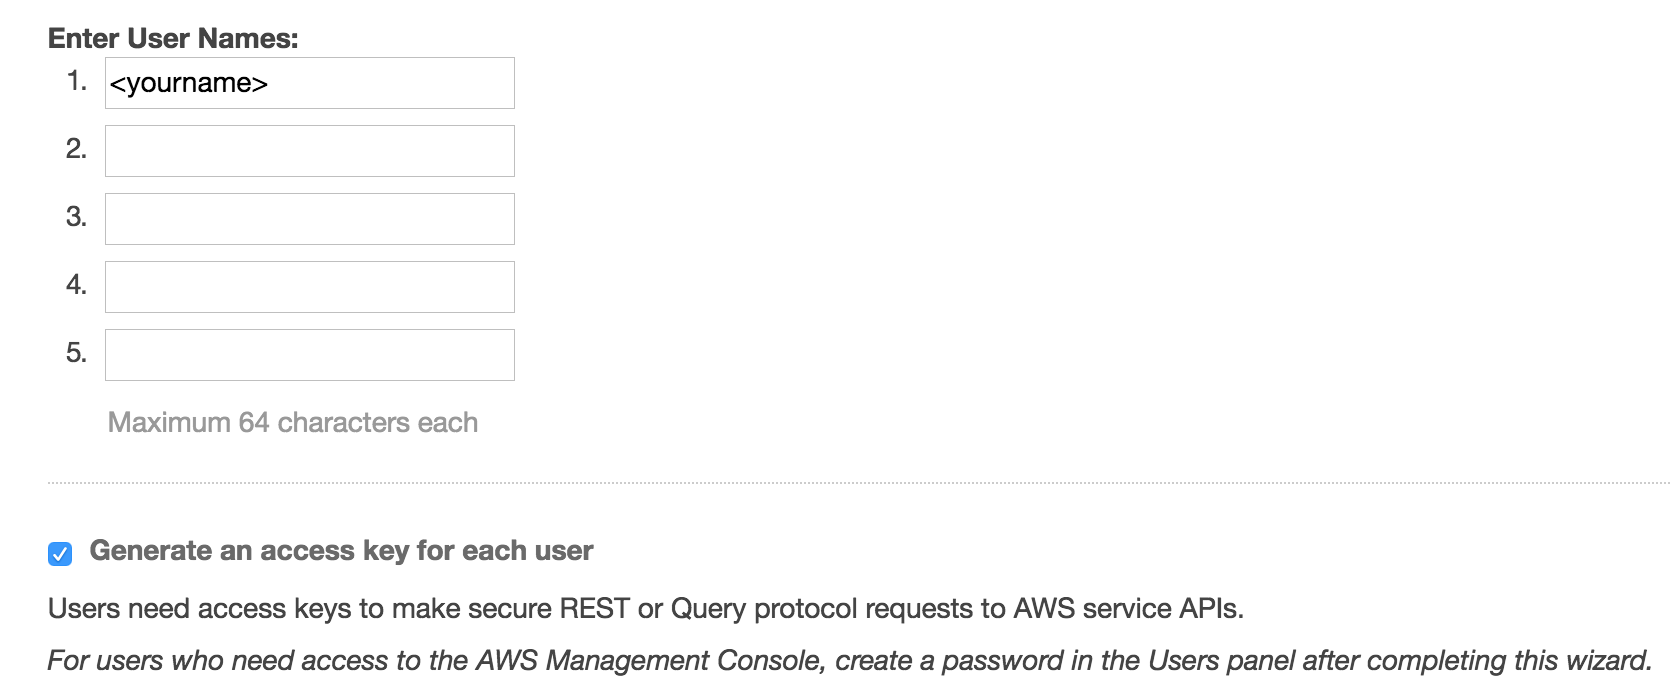
Press "create" which you'll find in the lower right corner. It's blue with white writing:
Click on "Show User Security Credentials" and you see your needed keys. IMPORTANT: Download and store them in a secure place.
Now click on your newly created IAM User and navigate to "Permissions". There you open the "Inline Policies" by clicking on the arrow beside it (if its not already opened)
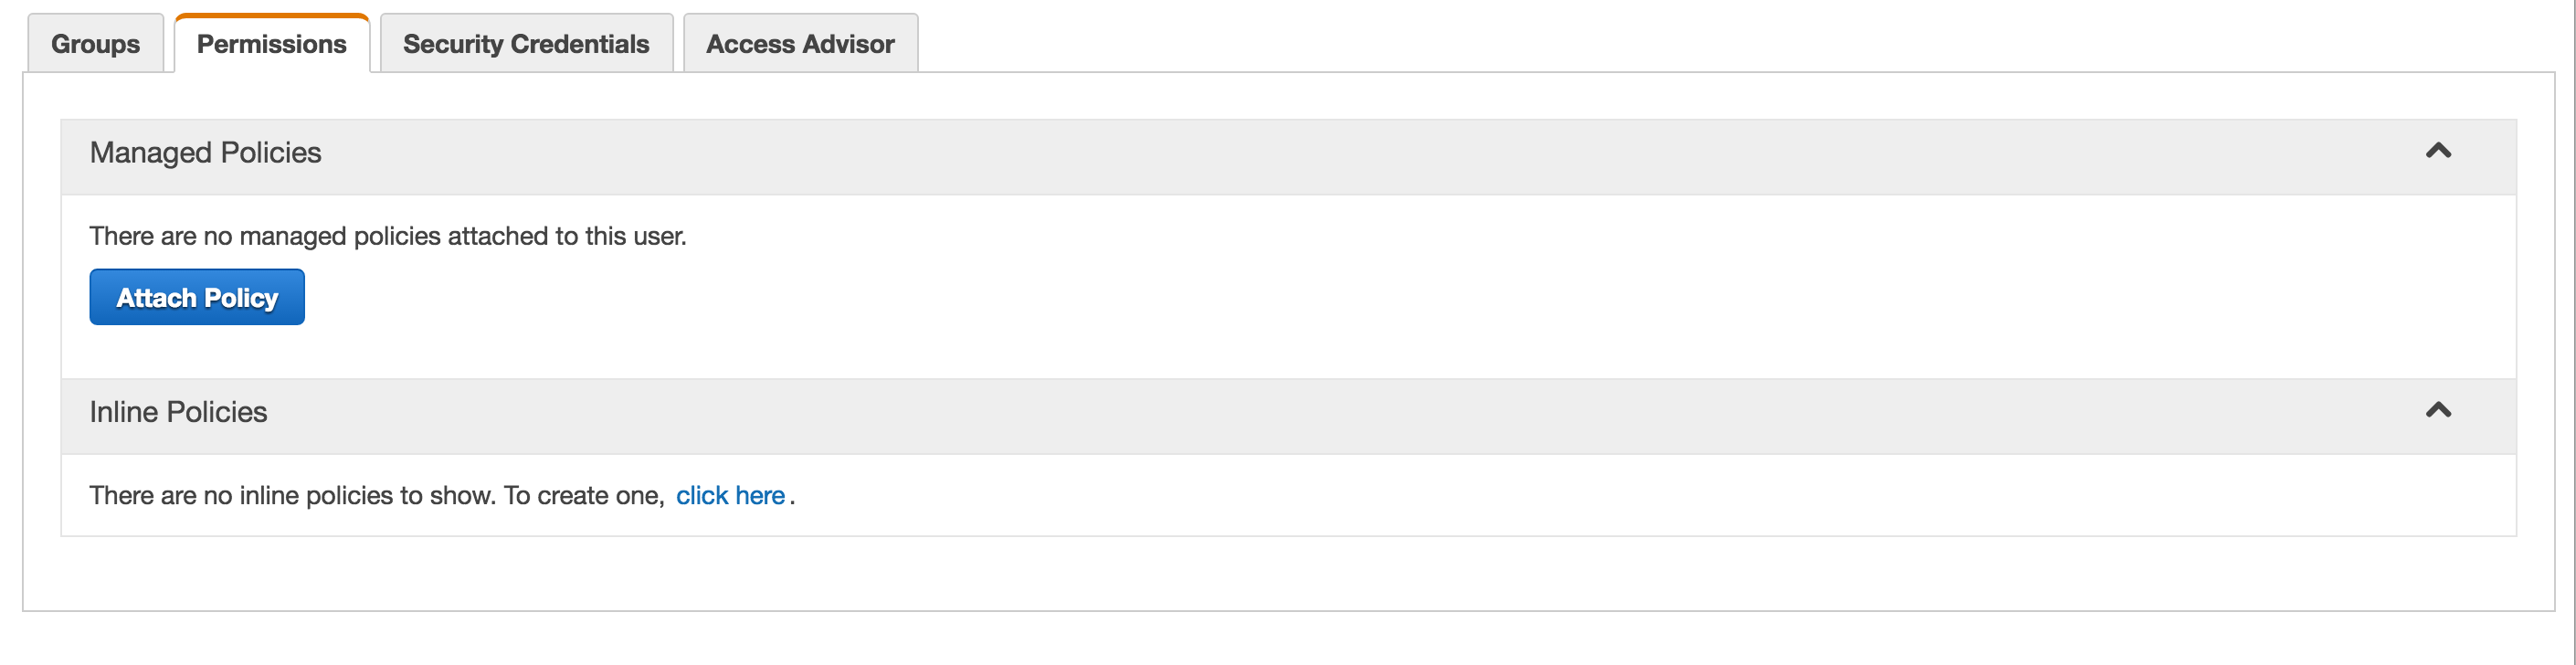
Now click on the "click here" link in the "Inline Policies" section.
Choose "Custom Policy" and click select.

Set the name of your Policy to something like:
<yourname>-s3-policy.Insert this text to "Policy Document:
{
"Statement": [
{
  "Action": [
    "s3:ListAllMyBuckets"
  ],
  "Effect": "Allow",
  "Resource": "arn:aws:s3:::*"
},
{
  "Action": "s3:*",
  "Effect": "Allow",
  "Resource": "arn:aws:s3:::<your-s3-bucket-name>"
},
{
  "Action": "s3:*",
  "Effect": "Allow",
  "Resource": "arn:aws:s3:::<your-s3-bucket-name>/*"
}
]
}
It should look like this:
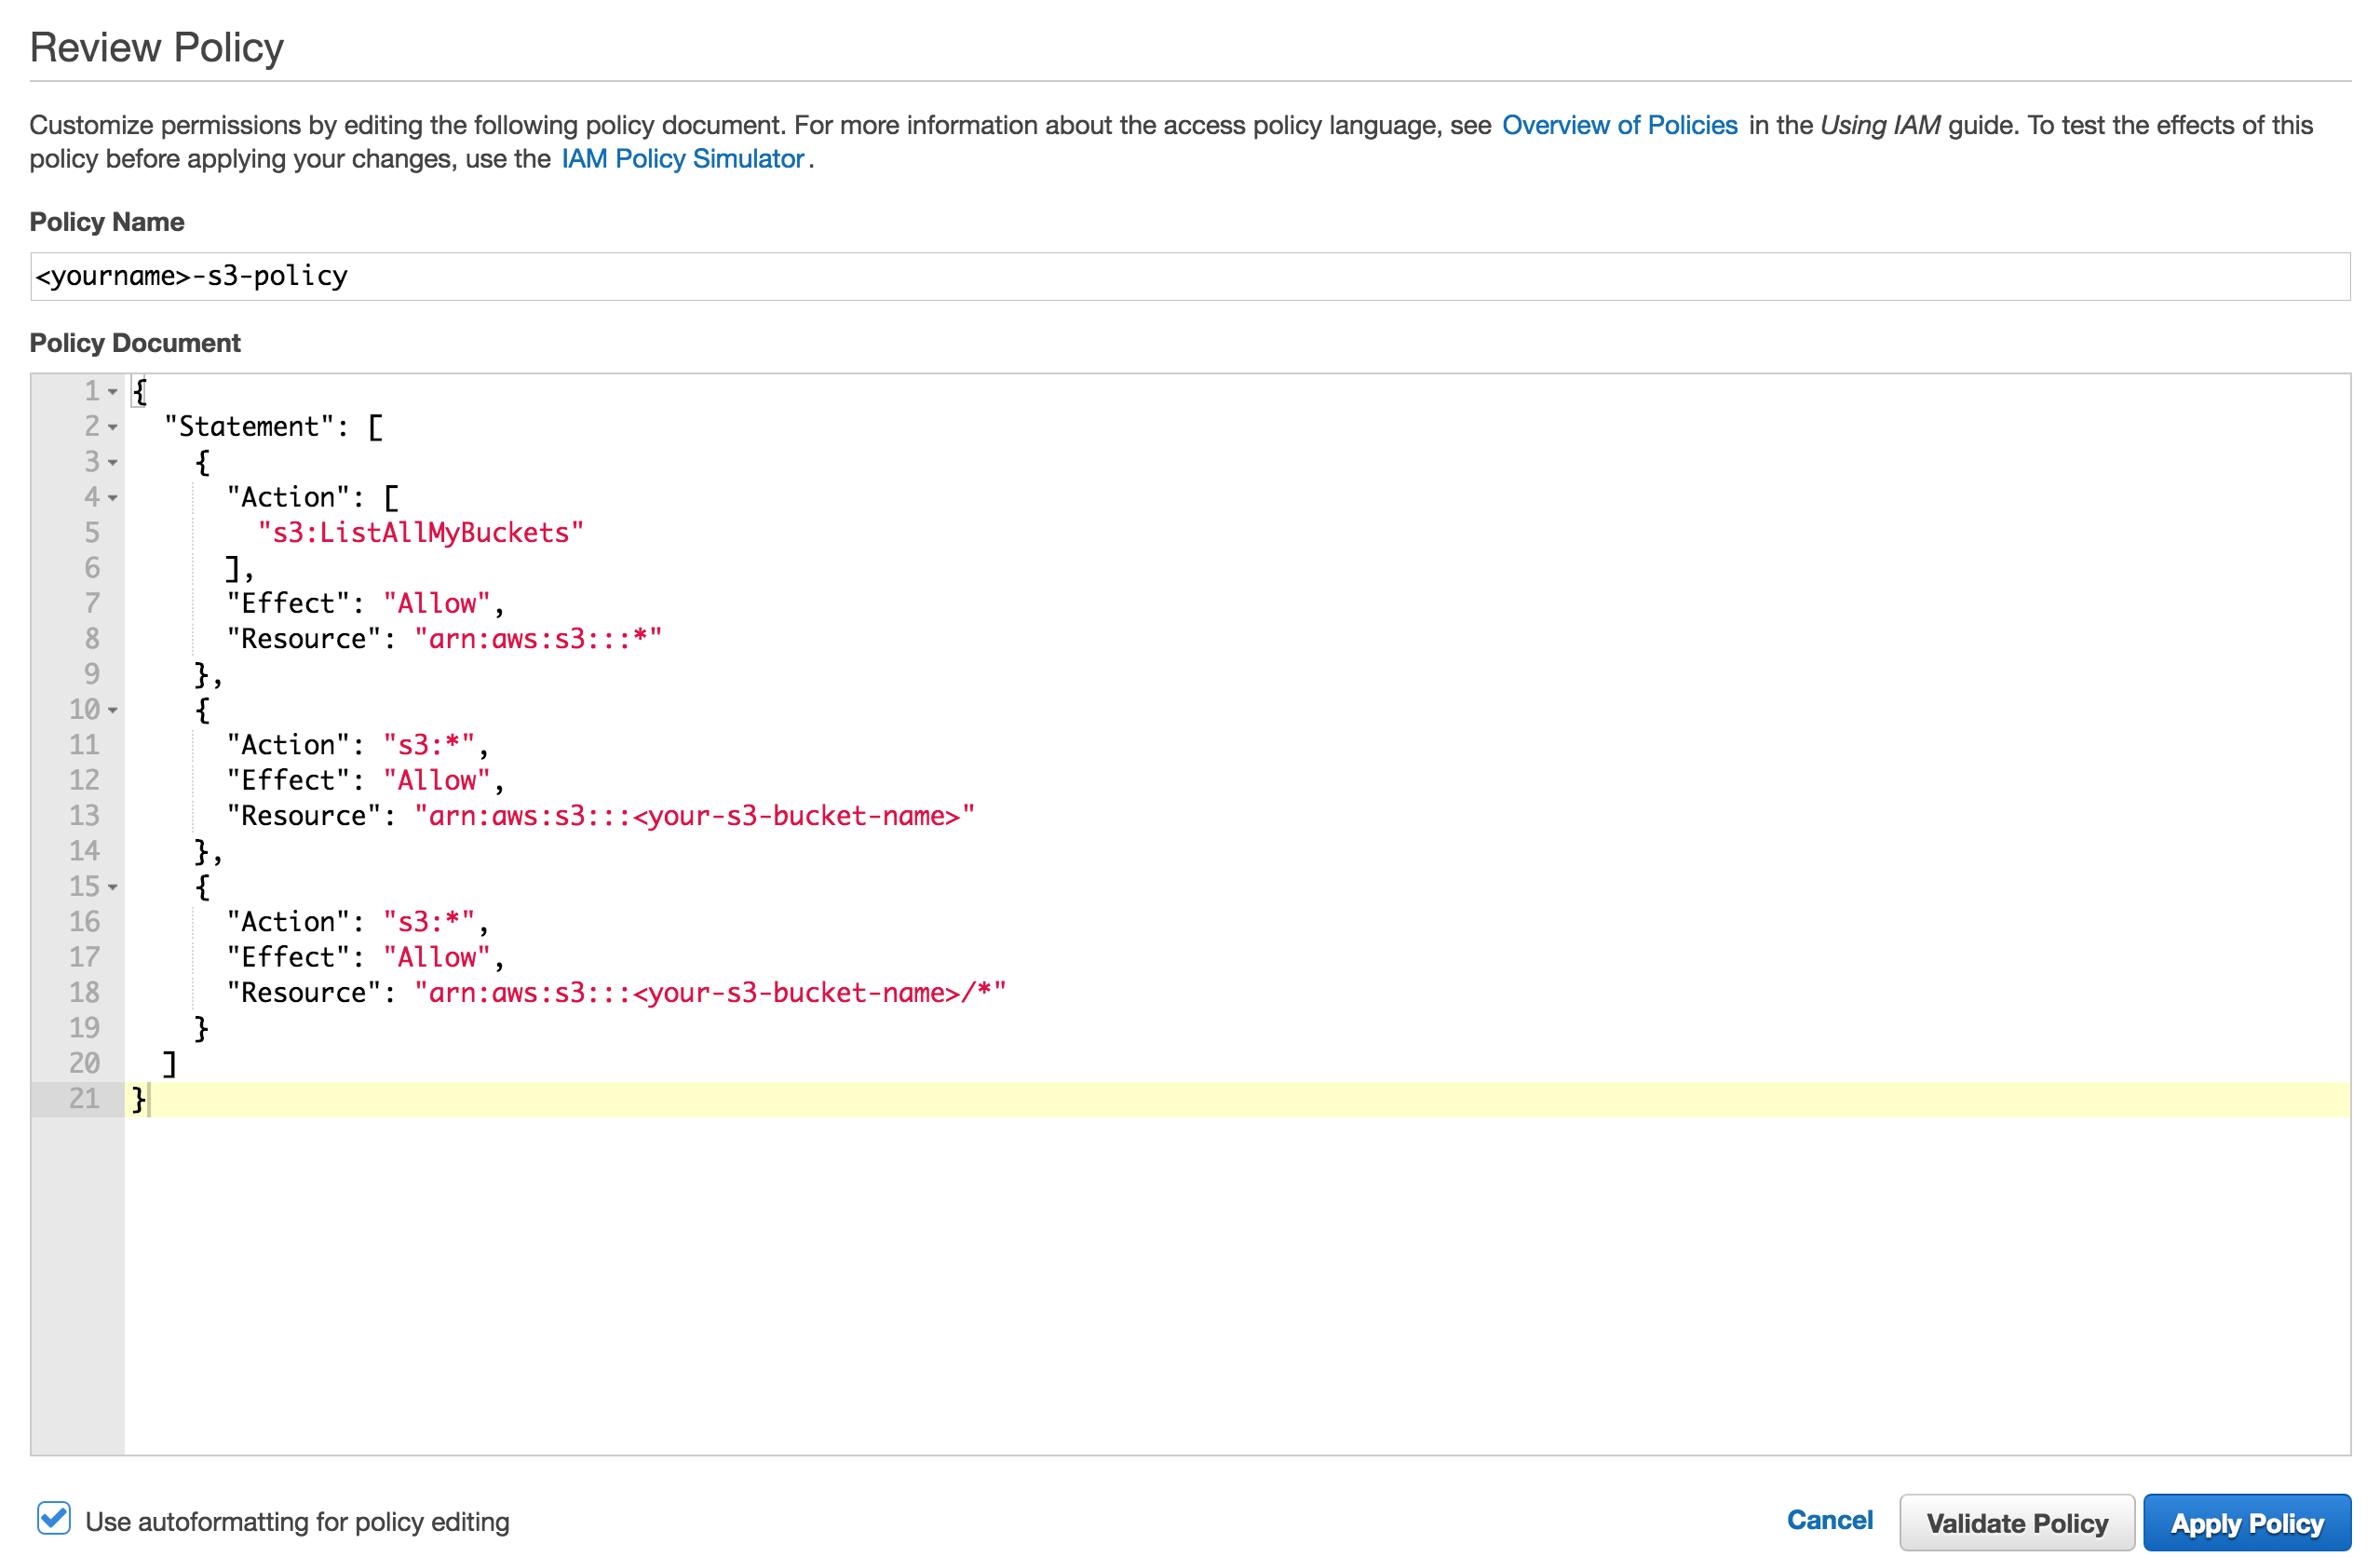
Click on "Apply Policy"
Configure renuo-upload-signing
Now you have to use the newly created bucket in your renuo-upload-signing by setting following keys in the .env-File:
- S3_BUCKET_NAME: needs the name you gave to your bucket.
- CDN_HOST differs if you changed the bucket-location for example. The part after the
/will always be your bucket-name though. - S3_PUBLIC_KEY needs the "Access Key ID" which you downloaded before.
- S3_SECRET_KEY needs the "Secret Access Key" which you downloaded before.
The .env file exists after running bin/setup as a copy of example.env. Adjust it:
S3_BUCKET_NAMEneeds the name you gave to your bucket.CDN_HOSTdiffers if you changed the bucket-location for example. The part after the/will always be your bucket-name though.S3_PUBLIC_KEYneeds the "Access Key ID" which you downloaded before.S3_SECRET_KEYneeds the "Secret Access Key" which you downloaded before.
Insert this into the file config/.env. Make sure it's ignored by git.
```rb
S3_BUCKET_NAME: 'renuo-upload-